Overview
Users with the appropriate permissions can link a work order to Parts and Material which then allows costs and inventory to be tracked. All linked parts and material can be viewed on the Parts/Materials screen.
Parts/Materials Data
To set up Parts/Material data:
- Navigate to Maintenance > Resources > Parts/Materials
- Click +Add Material

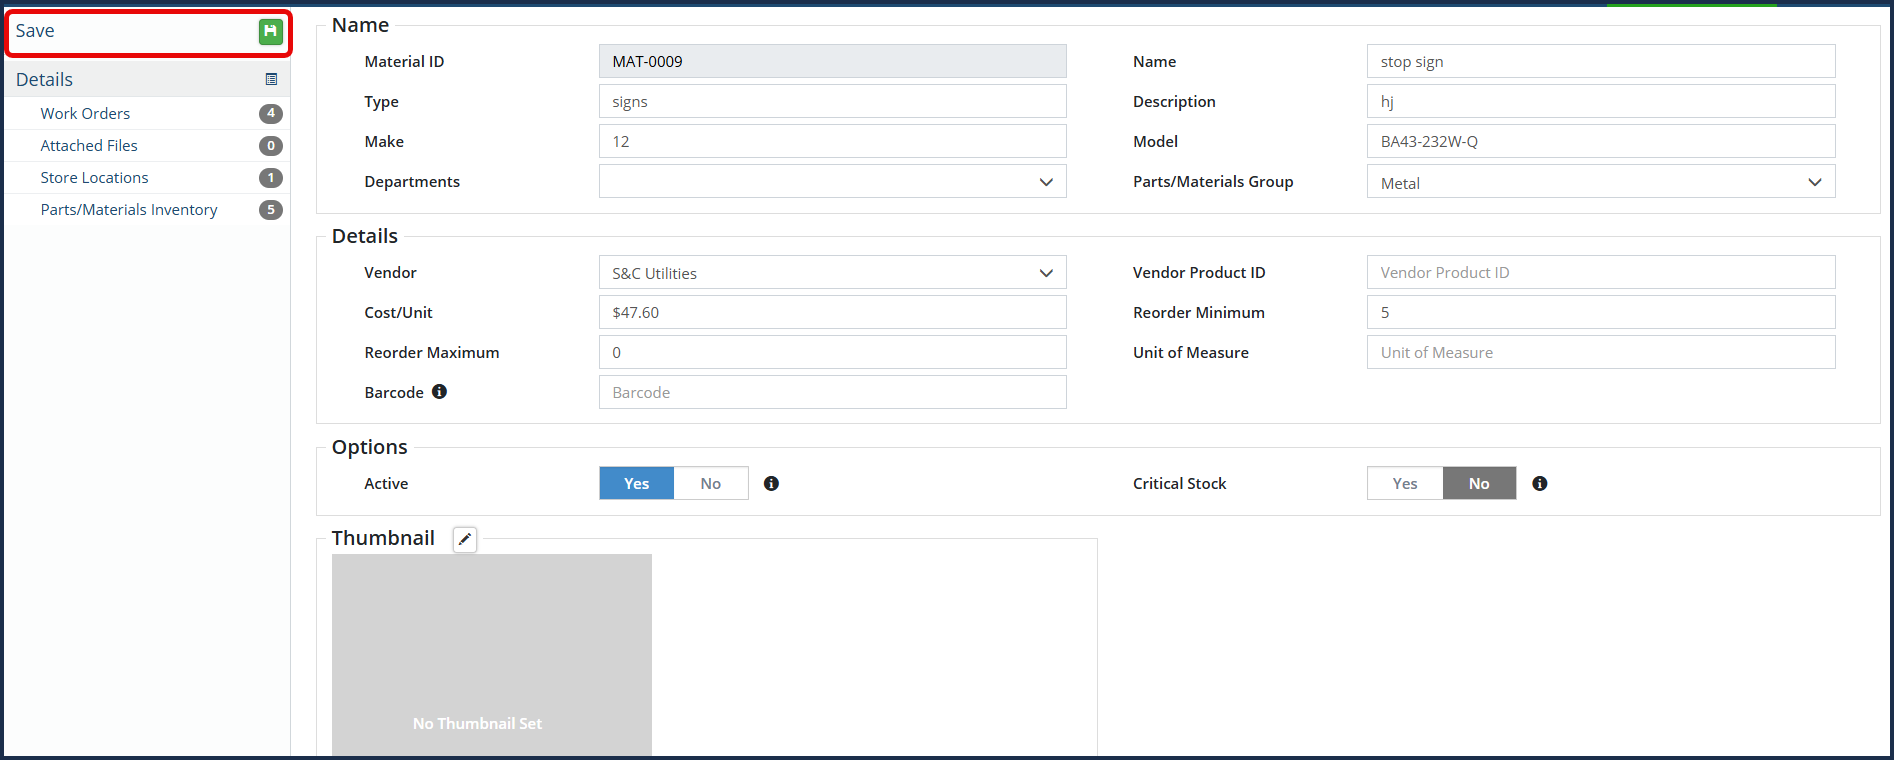
- Complete all the required information in the applicable fields
- Then click Save
To edit existing Parts/Material data:
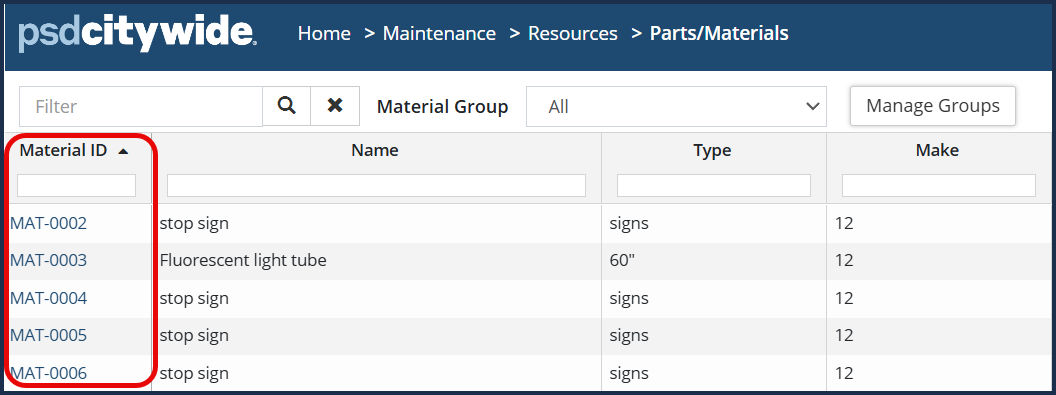
- Navigate to Maintenance > Resources > Parts/Materials
- Click the desired material in the Material ID column to view item details
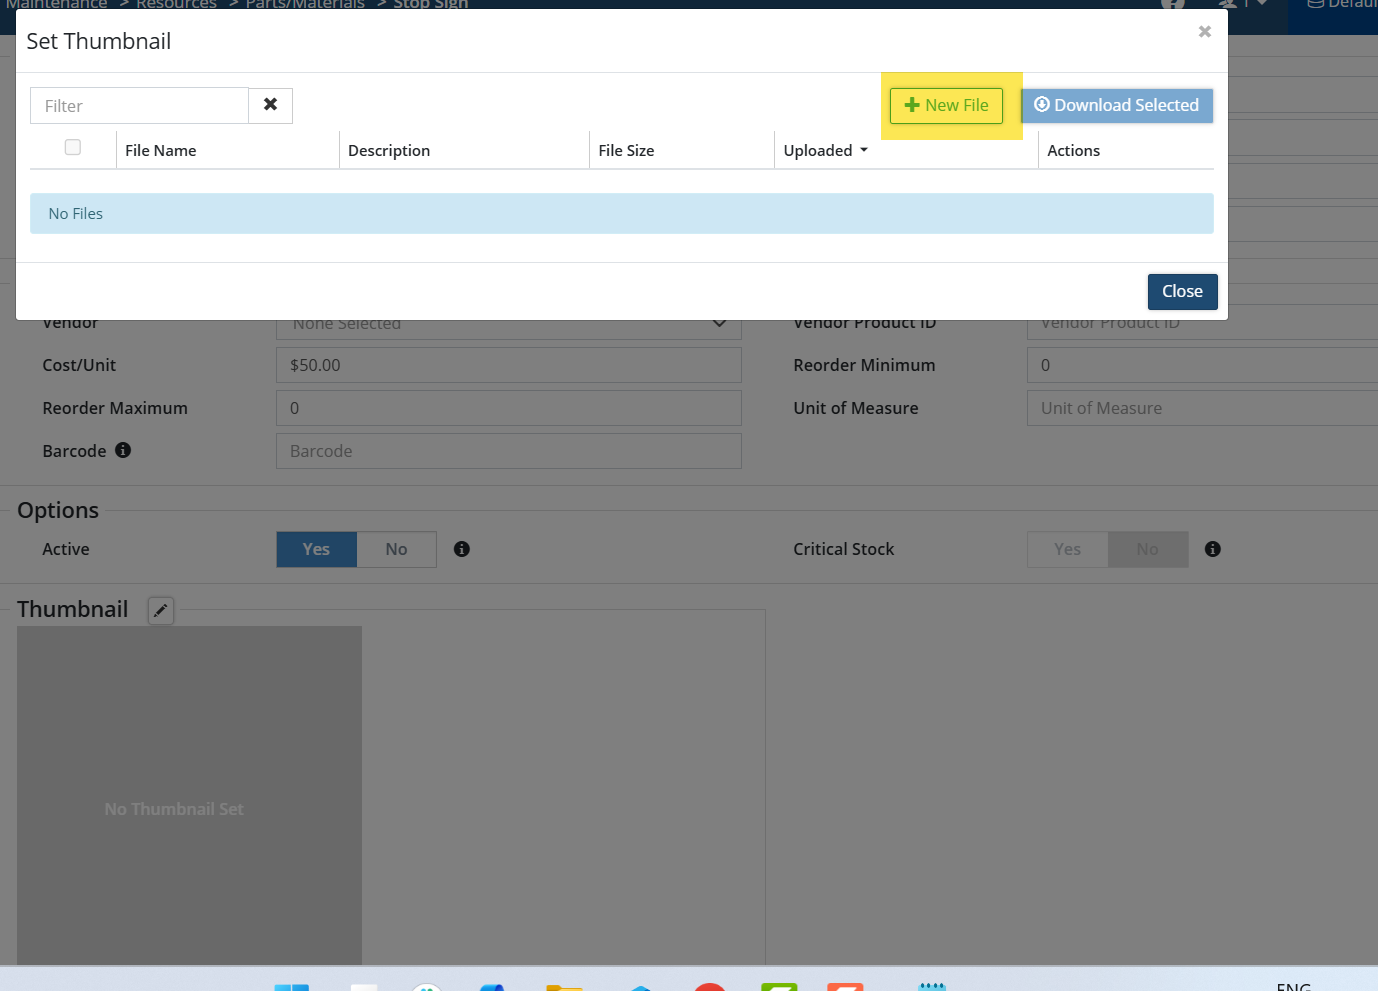
- Make the necessary edits on the applicable fields (ie. Cost/Unit)
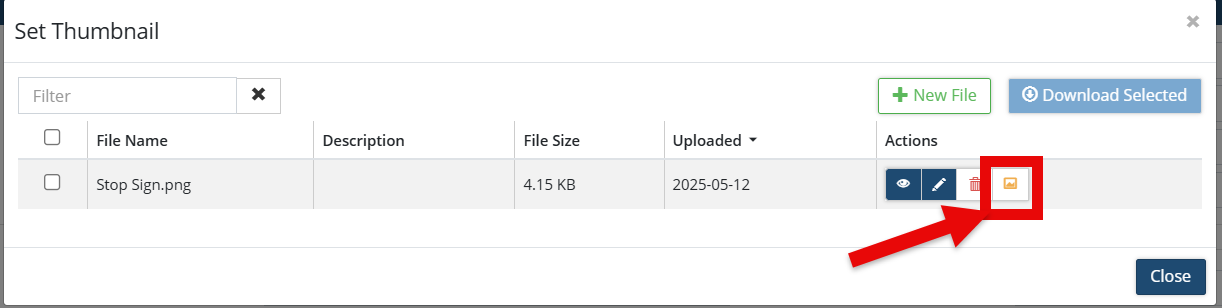
- Add a Thumbnail by clicking on the Edit button in the Thumbnail section and add a New File within the Set Thumbnail window.
- Once Thumbnail image has been selected, click on Set Thumbnail.
- Then click Save
When viewing Parts/Materials assigned to Work Orders, you can view and edit the quantity of units assigned:
-
Click the desired work order ID
-
Click the edit icon
 in the Actions column
-
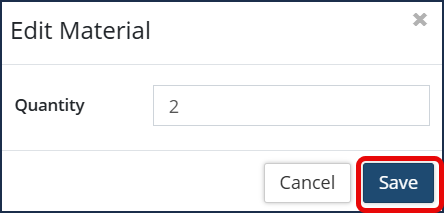
Enter the quantity of units as needed.
-
Then click Save.
Material Groups
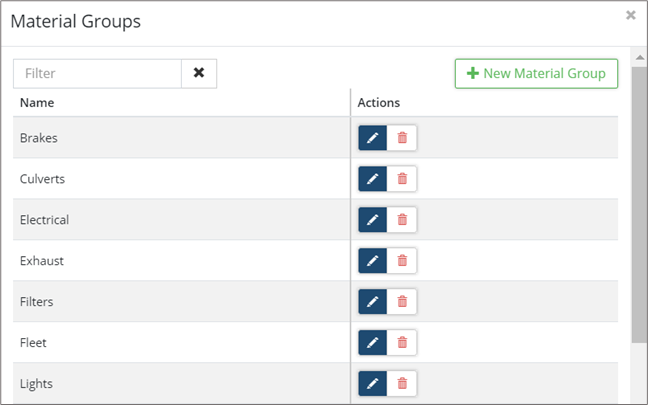
Create Material Groups to organize similar material items into groups for filtering purposes.
To create or edit a Material Group:
- Click Manage Groups on the Parts/Materials list.
- To add a new Group, click +New Material Group
- Enter a Name and click +Attach Materials to add items to the new group.
- Make your selection(s) ☑ and click Add Selected Item(s).
- Click
 to modify the group.
 - Click
 to delete the group.
- Click
- Click Add.
To select/modify material selection:
-
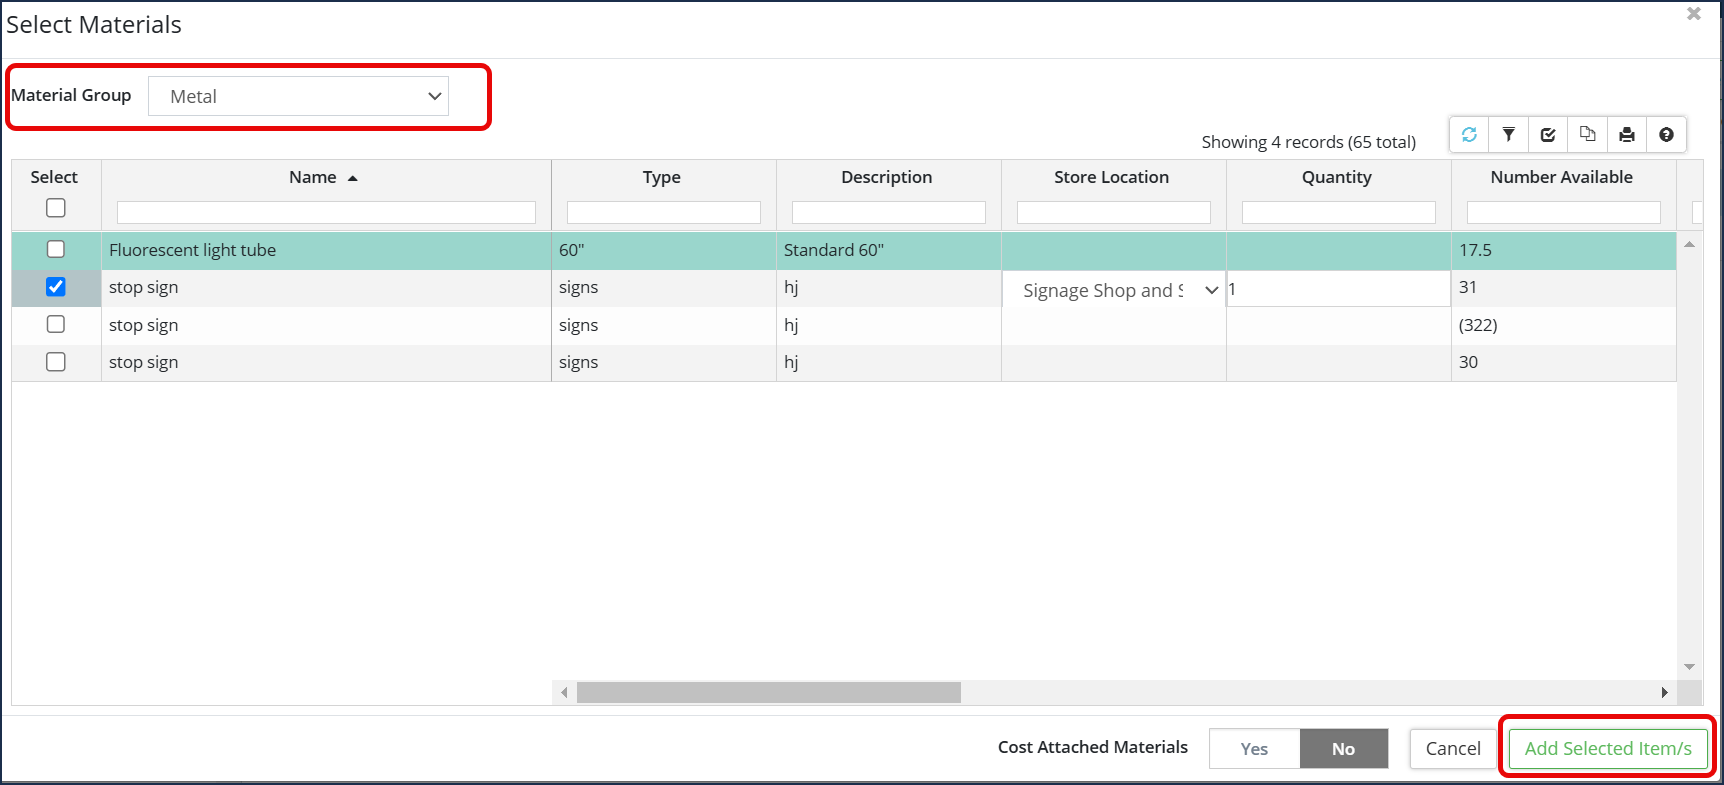
Click the +Attach Materials. Use the Material Groups drop-down to filter the list if needed.
-
In the Select column check 🗹 all required parts/material.
-
Click Add Selected Item(s)
-
Click Save at the top left corner of the affiliate panel to apply the changes.

To bulk import Parts/Materials:
To bulk import Parts/Materials using the Maintenance Upload Centre:
Navigate to Home 🡆 Maintenance 🡆 Upload Centre.
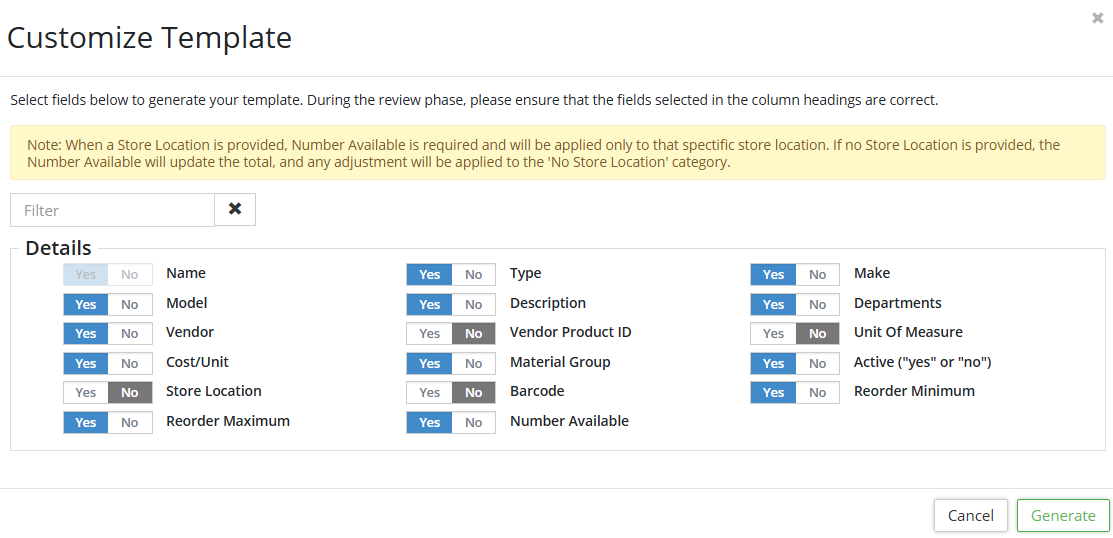
Select the Upload Type dropdown and select Parts/Materials Import.
Customize the template as needed by toggling fields on/off. The Name field is mandatory. Note: When a Store Location is provided, Number Available is required and will be applied only to that spectific store location. If no Store Location is provided, the Number Available will update the total, and any adjustment will be applied to the 'No Store Location' category. Click Generate. Citywide displays a string of text to be copied into an Excel workbook.
Once all parts/materials information has been entered into Excel and reviewed, copy and paste the data including the header row into the Upload Centre. Review the information and ensure the headers are mapping correctly.
Click Submit.
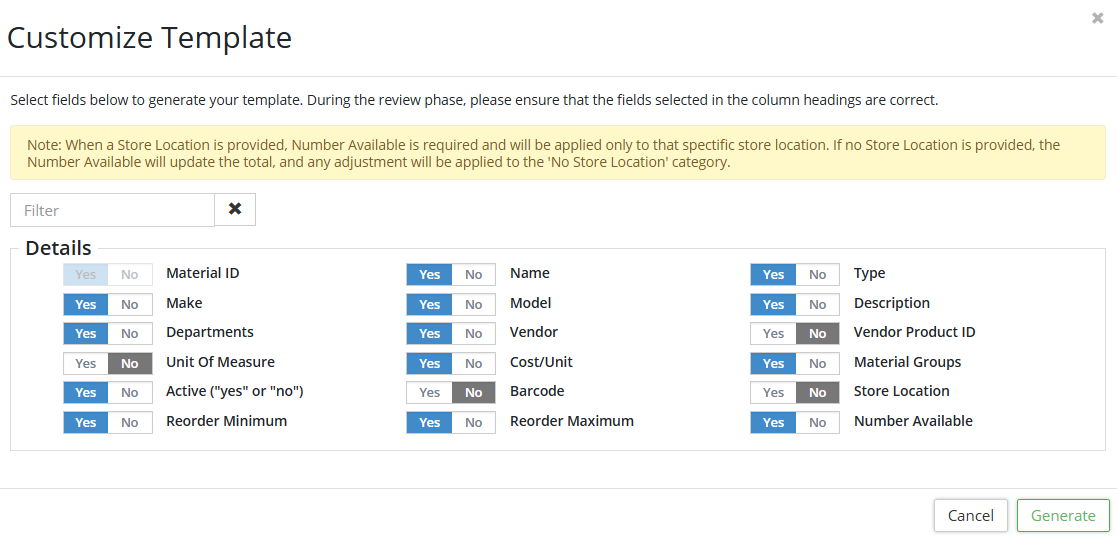
To sync Parts/Materials using the Maintenance Upload Centre:
Navigate to Home 🡆 Maintenance 🡆 Upload Centre and choose Parts/Materials Sync. The Material ID field is mandatory. Follow the steps as outlined above.
If FIFO (first in, first out) is enabled under Home 🡆 Maintenance 🡆 Preferences then Citywide will use older inventory first. I.e., when users attach parts/materials to work orders, older inventory is depleted before inventory from newer lots are assigned. FIFO can only be enabled on database where parts/materials inventory is being used and when the inventory count is not at negative levels (i.e., less than 0).
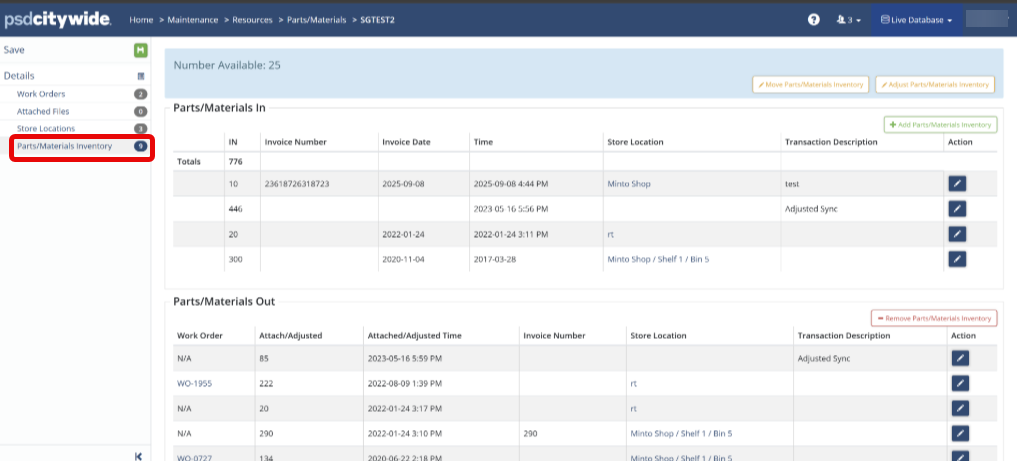
Parts/Materials Inventory:
Quantity Available (blue banner at the top): The screenshot above shows the quantity available is 25.
Parts/Materials In: Includes the IN column (shows the total quantity and quantity of parts/materials added), Invoice Number, Invoice Date, Time, Store Location and Transaction Description.
Parts/Materials Out: This section lists each WO and the quantity assigned is shown in the Attached/Adjusted column. It also includes Attached/Adjusted Time, Invoice Date, Time, Store Location and Transaction Description.