Statuses (Planning)

Oct 15, 2025
Overview
Submitted Planning applications are processed using a work flow of application statuses. Each application type, may have a unique work flow that can be customized with the applicable statuses. To create a list of customized application statuses, navigate to:
Home > Permitting > Planning (Manage section) > Statuses
To Add a custom Status
The grid will show any existing custom statuses that apply to a work flow for all the application types in Citywide.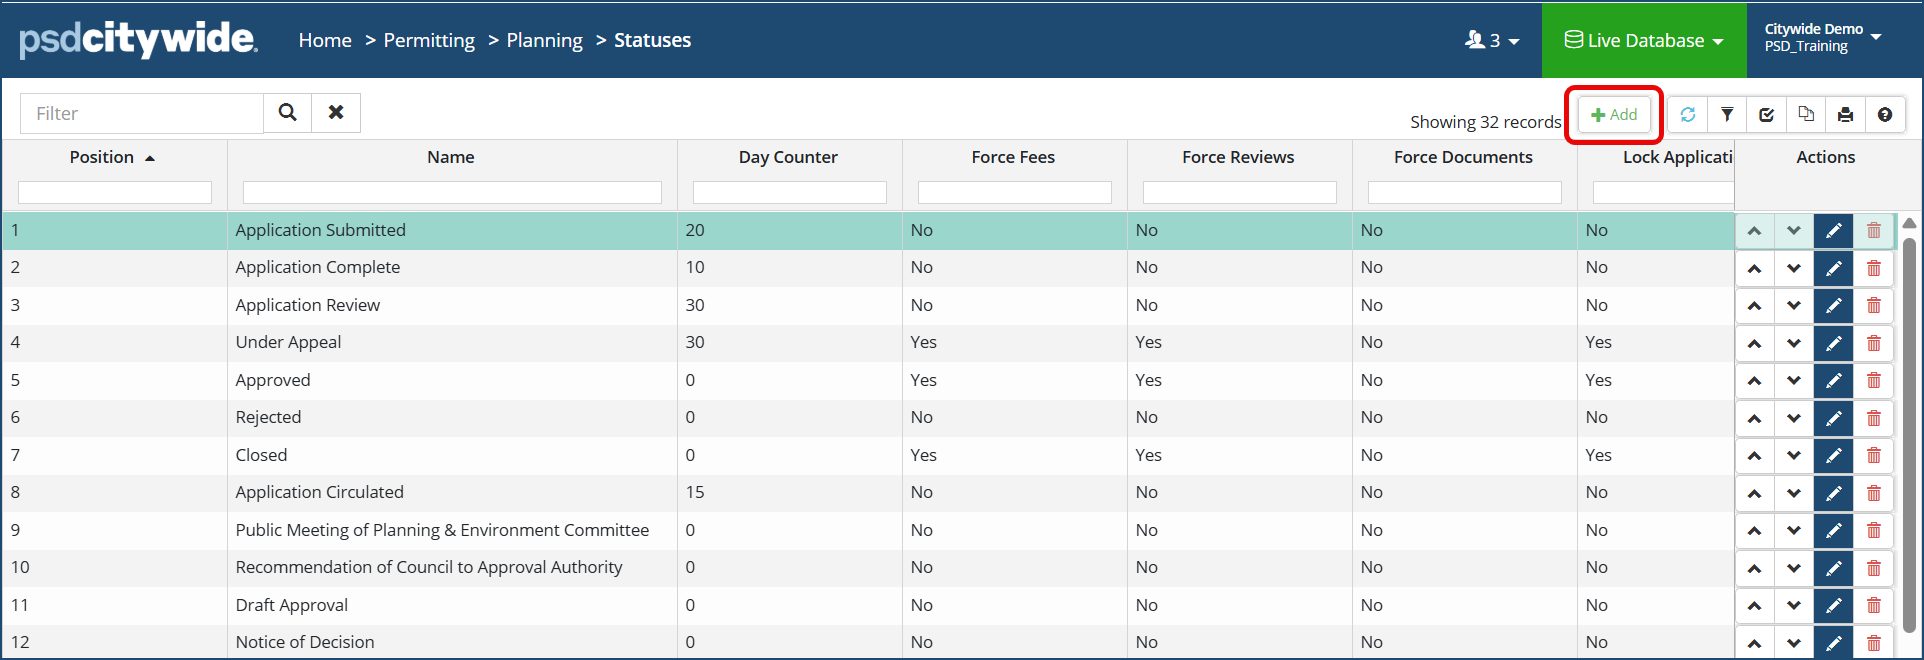
- Click +Add from the Status grid
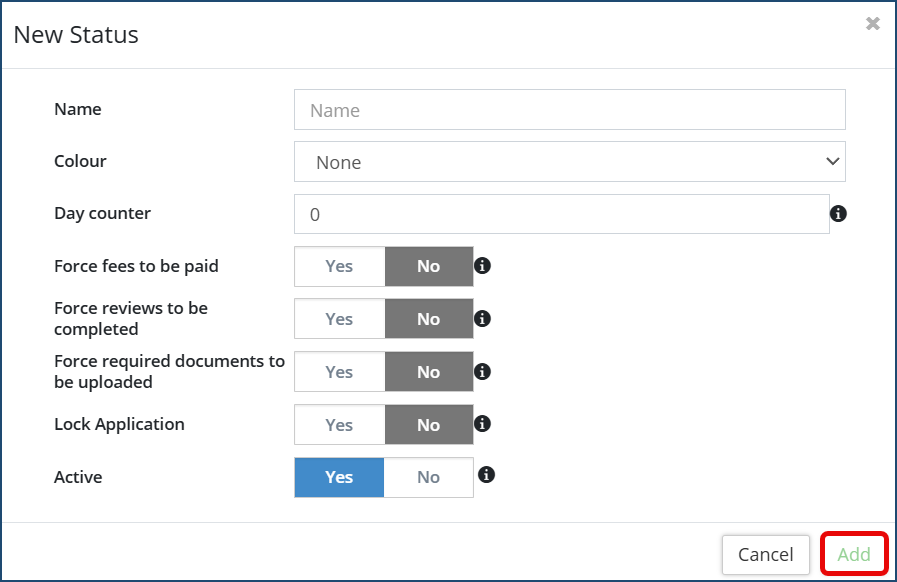
- Enter a name
- Select from the drop down the desired color applicable to the status
- Enter the Day counter - this refers to the maximum number of days the application should be in this status
- Select Yes or No for the following toggles for actions required on this status:
- Force fees to be paid
- Force reviews to be completed
- Force required documents to be uploaded
- Lock Application
- Active - this can be used when a status is no longer required, but want to keep a history when this status was applied to prior applications.
- Then click Add
To View or Edit a custom Status
From the status grid, the Actions column displays the various functions available: Edit, Delete or change the Position order of a Status.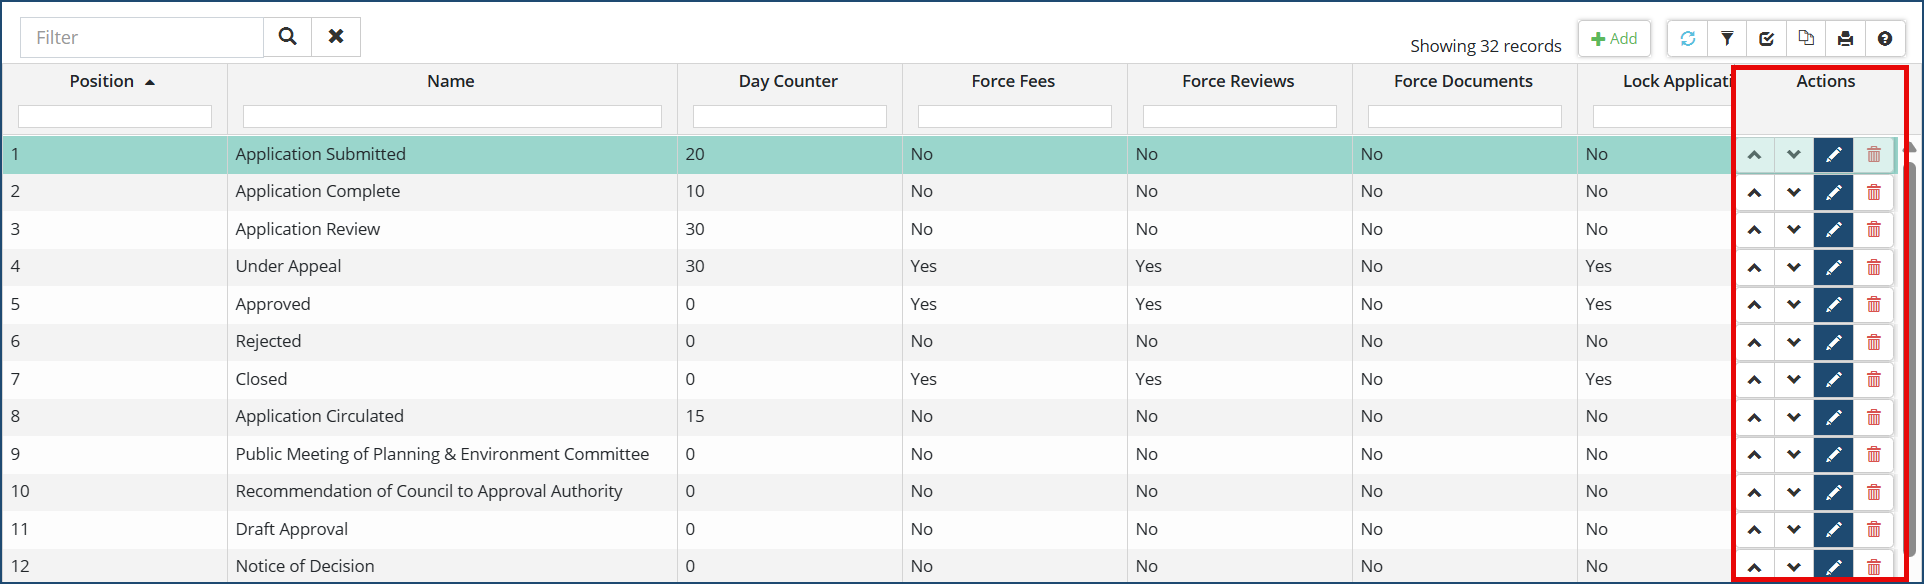
- Click the pencil icon
 to edit the details of a status. Click Save once all edits to the status are complete.
 - Click the trash can icon
 to delete the status.
 - Use the up and down arrows
 to change the status position order. The status position order shows when you are selecting and applying them to an Application Type work flow.


