


Groups define how Key Segment Items (from the list of items in the Key Segment identified as "Is Group" in Model Administration) will be combined for reporting purposes in Project Summary Report and Financing Group reports.
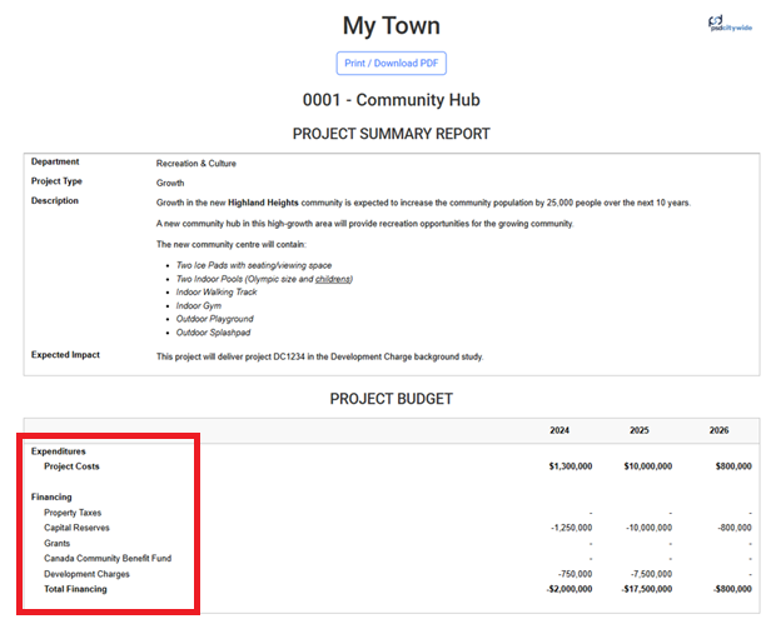
Example 1 - Expenditure and Financing groups in a Project Summary Report create a clean, concise reporting format for external reports.
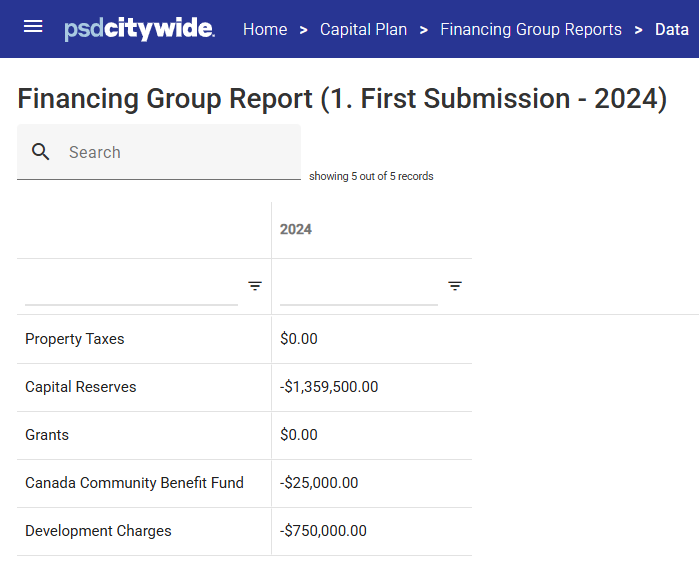
Example 2 - Financing Groups Report
Configure Groups
Determine in advance how you would like Segment Items to be grouped for reporting in Capital Plan.
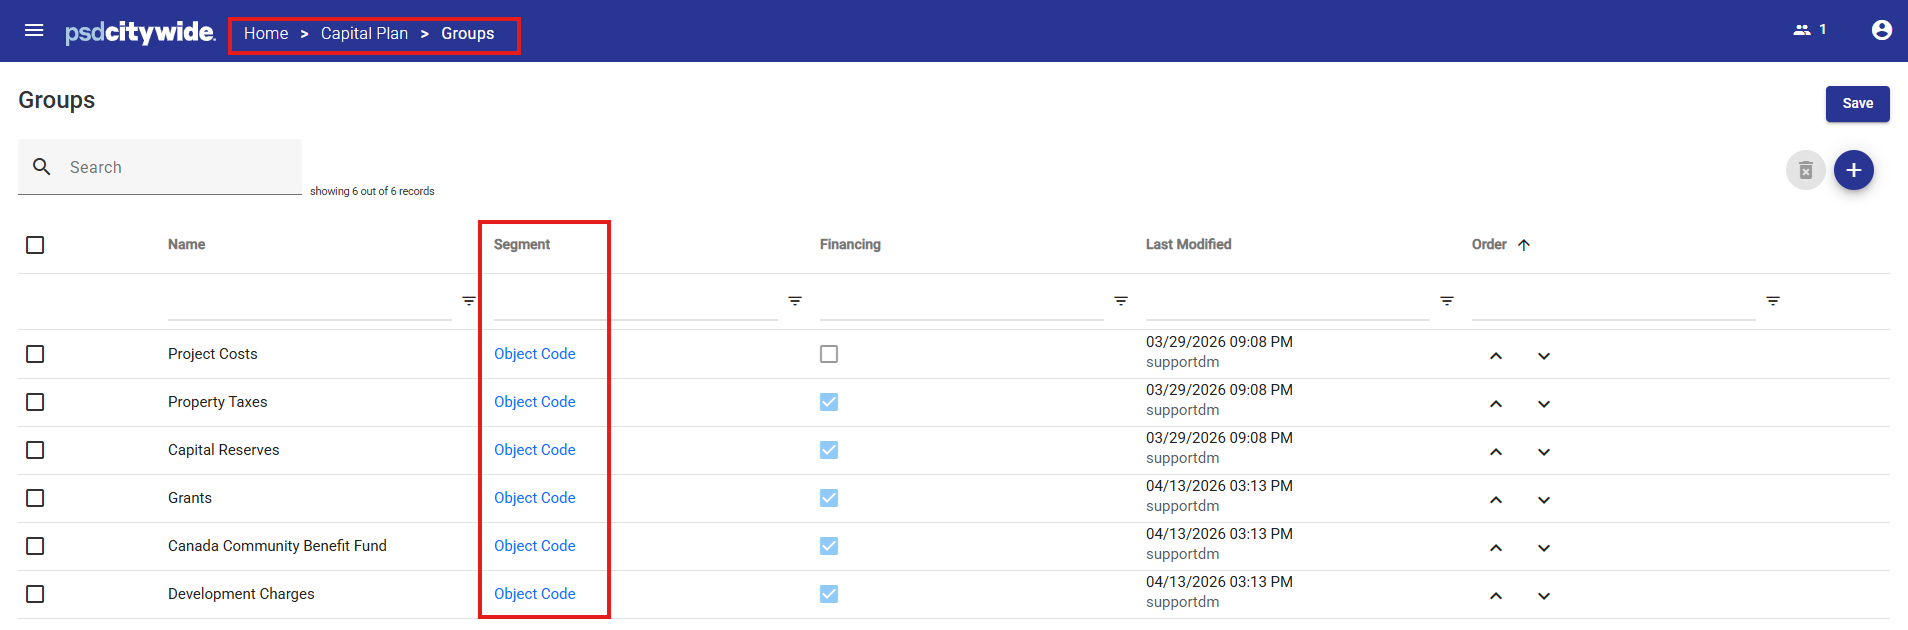
Navigate to Capital Plan > Groups. Typically, this will contain initial list of groups configured by your PSD Advisor during implementation.
Add a New Group
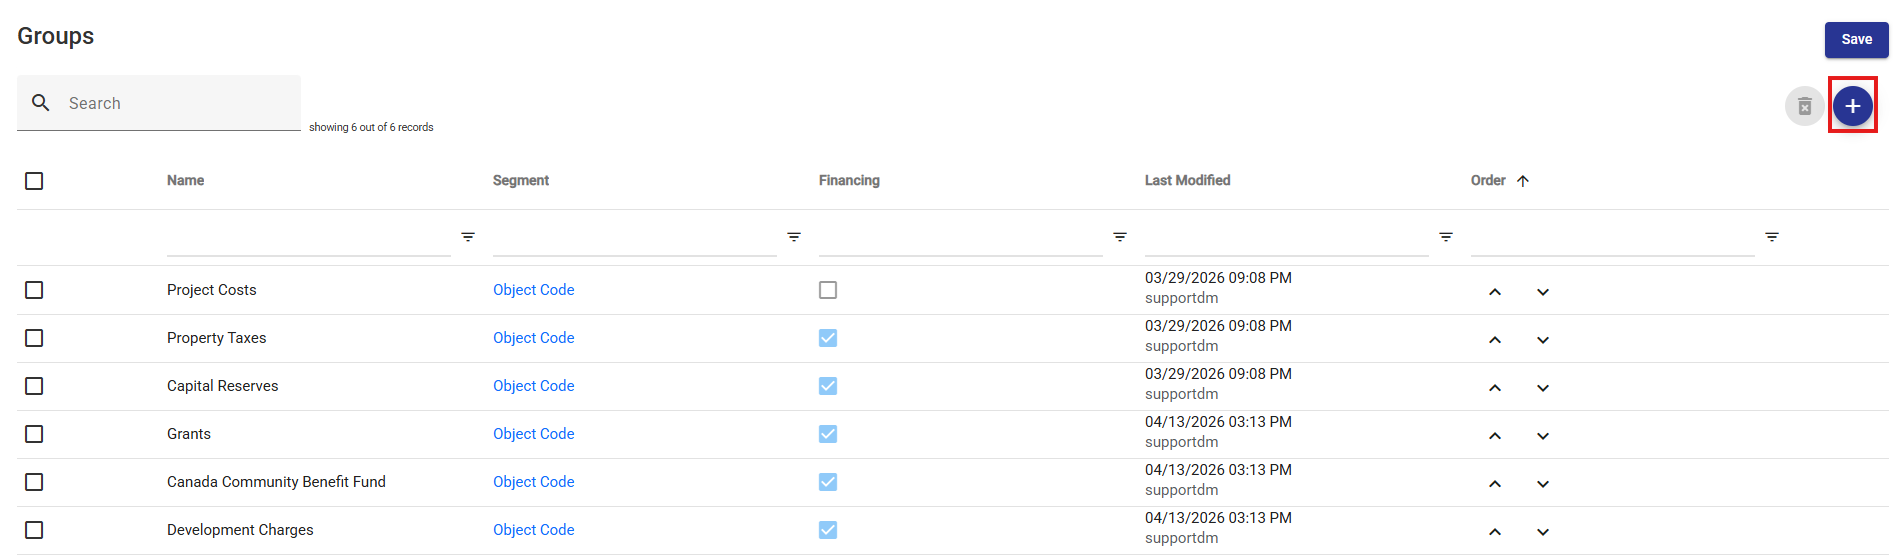
1. Click the Add button  to add a new group.
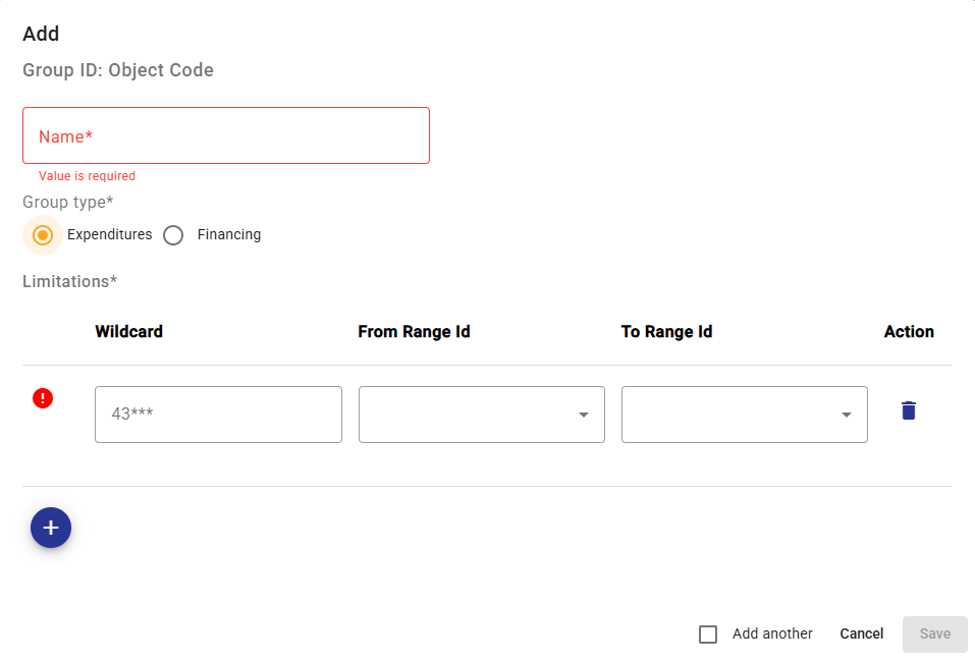
2. The new group's properties will be displayed.
Enter the name of the new group. (The group name will appear in all reports exactly as entered here.)
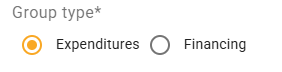
3. Select the Expenditures or Financing radio button to define the group type.
Typically, items with a Natural Account Type of Expense will be reported as Expenditures and those with a Natural Account Type of Revenue will be reported as Financing.
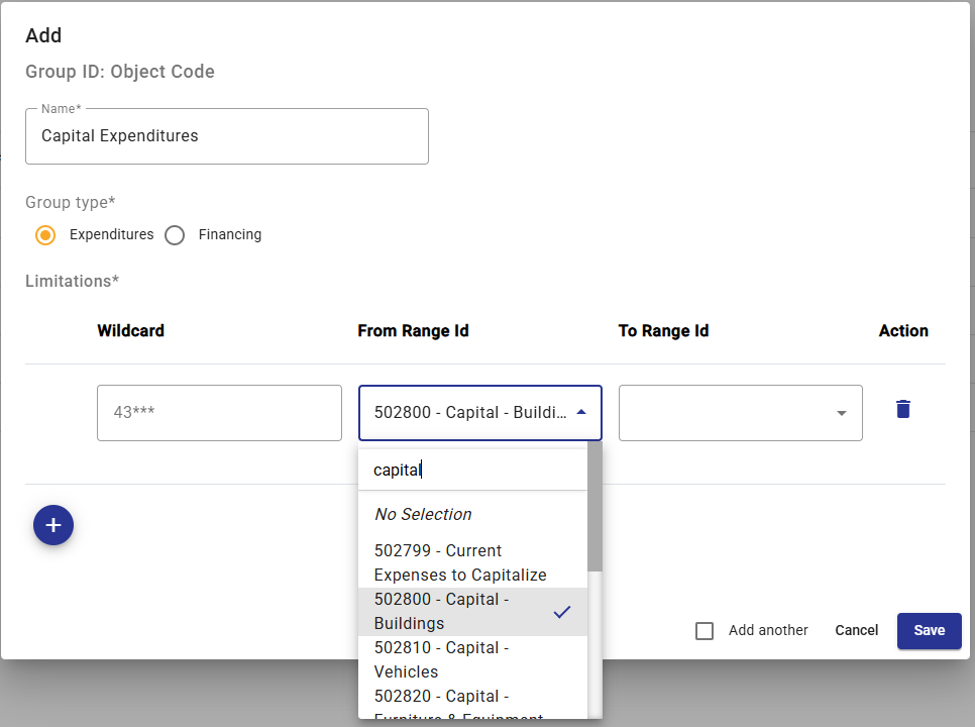
4. Select the subset of Segment Items (from the list of items in the Key Segment identified as "Is Group" in Model Administration) to be included in the reporting group.
Limitations may be expressed as:
- From - To ranges (select the From and To Range Ids for the drop down list of available Segment Items displayed)
- Wildcard (enter the wildcard directly. E.g. 32* means any segment item starting with 32, or 32??22 means any item starting with 32, ending with 22 and with any two characters / numbers in between)
5. Click Save.
Modify an Existing Group
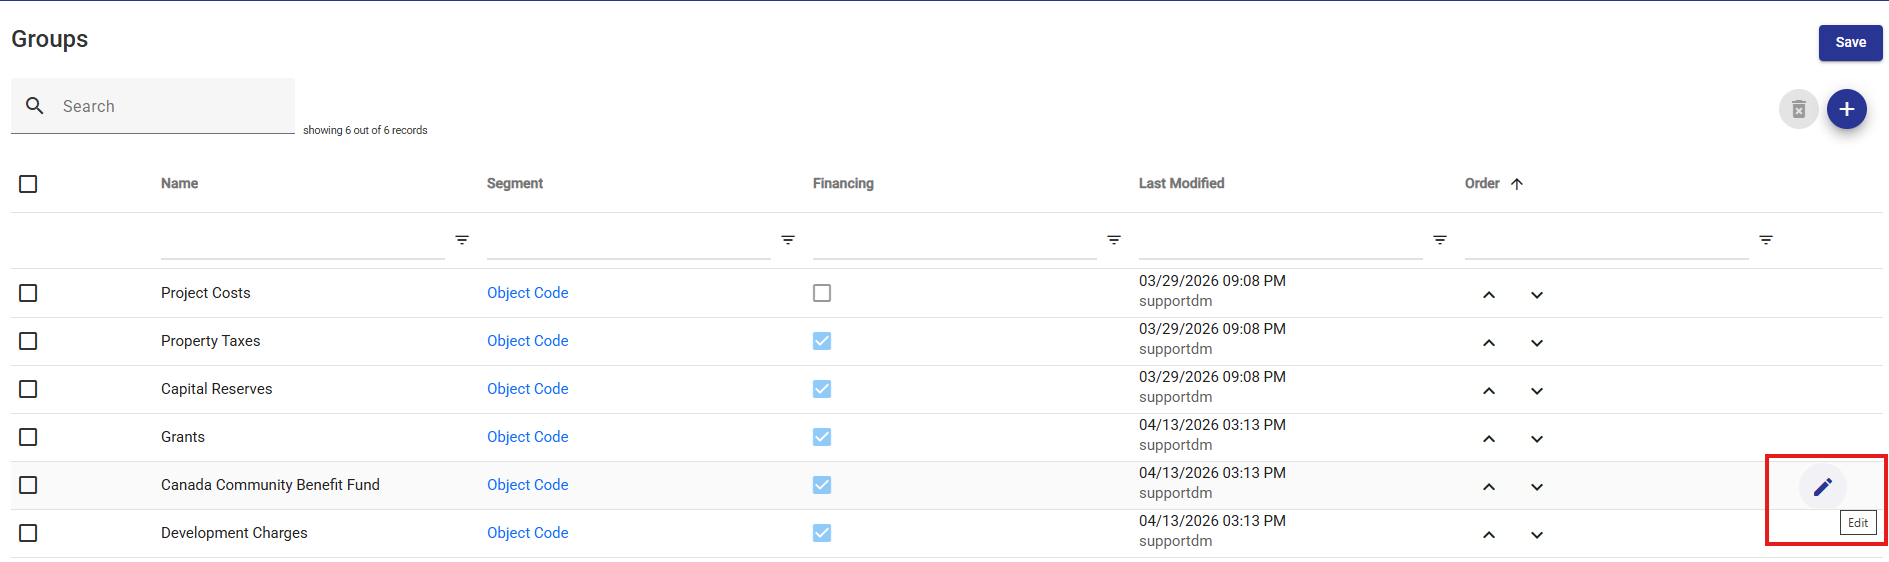
1. Click the Edit button next to the Group to be modified.
2. Update the group's properties as required.
3. Click Save.
Delete a Group
1. Select the checkbox next to the group to be deleted.
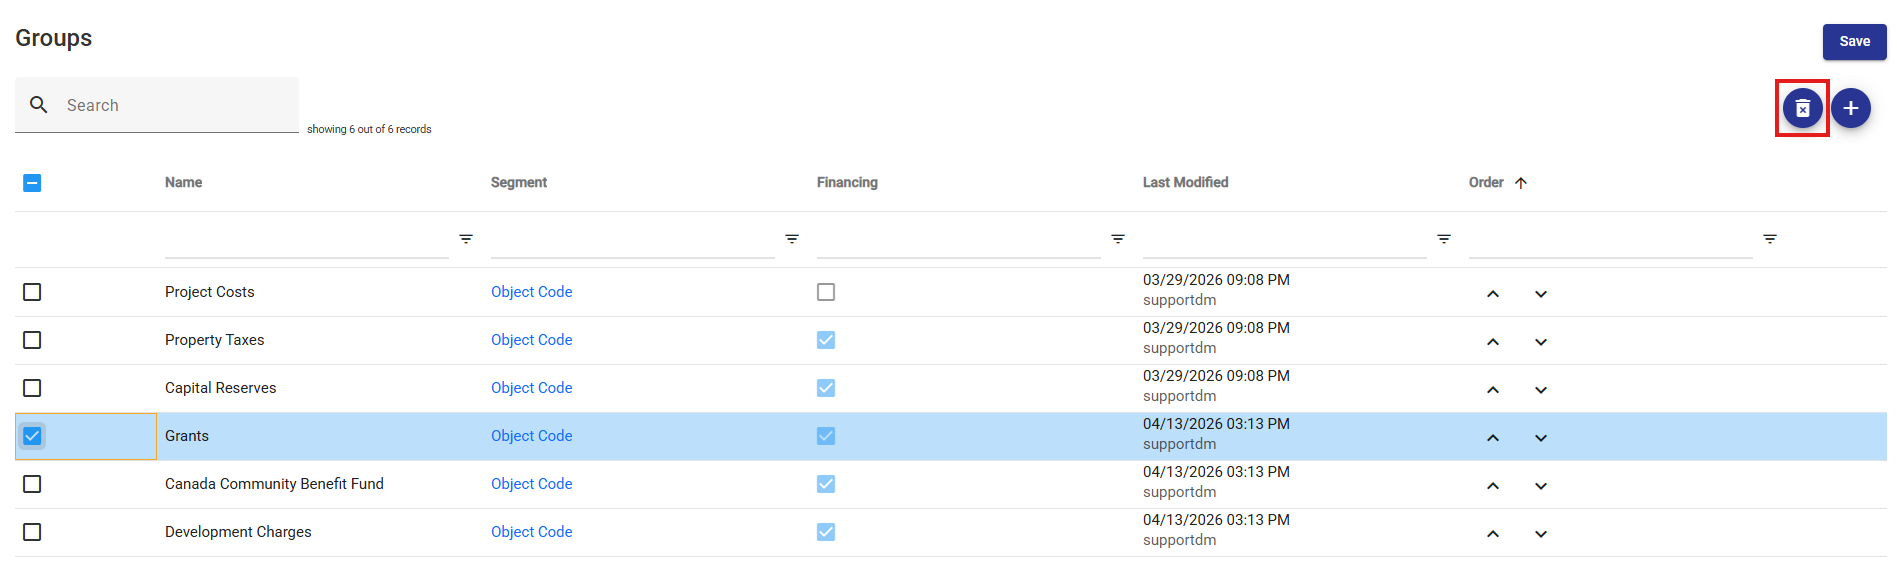
2. Click the Delete button  to delete the group. Note that this action cannot be undone.


